Introduction: The Magic of No-Bake Cookies
In today’s fast-paced world, not everyone has the time or energy to whip up elaborate desserts. Enter the no-bake cookie—a simple, satisfying treat that’s as easy to make as it is delightful to eat. And when you add the refreshing zest of lemon, wholesome oats, and a hint of coconut, you’ve got something truly special.
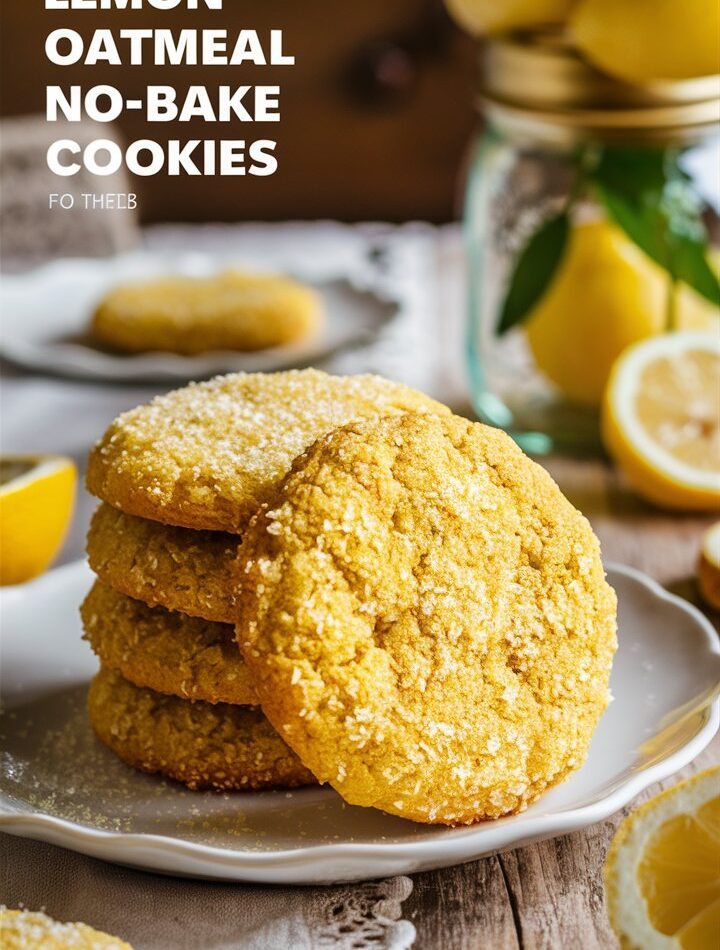
These Lemon Oatmeal No-Bake Cookies are soft, chewy, and bursting with citrus flavor. They’re perfect for busy afternoons, sunny picnics, lunchbox snacks, or when you’re simply craving a quick sweet fix. The best part? You don’t even need to turn on the oven.
In this complete guide, we’ll walk you through everything you need to know about making these cookies—from ingredients to step-by-step instructions, customization options, nutrition tips, and frequently asked questions. Whether you’re a beginner or a seasoned baker, this recipe is foolproof and flexible.
Table of Contents
- Why You’ll Love These Cookies
- Ingredients Breakdown
- Tools You’ll Need
- Step-by-Step Instructions
- Storage & Shelf Life
- Flavor Variations & Add-ins
- How to Make It Vegan or Dairy-Free
- Common Mistakes to Avoid
- Serving Suggestions
- Nutrition Information
- Recipe Card (Printable Format)
- Frequently Asked Questions
- Final Thoughts & Expert Tips
1. Why You’ll Love These Cookies
Here’s why this cookie recipe deserves a permanent spot in your dessert rotation:
- ✅ No Oven Required – Perfect for hot days or quick cravings.
- ✅ Fresh Citrus Flavor – Lemon adds a clean, bright taste.
- ✅ Wholesome Ingredients – Oats, lemon, coconut – it’s a better-for-you treat.
- ✅ Ready in Minutes – From start to set in under 30 minutes.
- ✅ Customizable – Add nuts, chocolate chips, or keep them classic.
These cookies offer a fresh twist on the beloved chocolate-peanut butter no-bake cookies, ideal for spring, summer, or any time you’re craving a light and tangy treat.
2. Ingredients Breakdown
Let’s take a closer look at what goes into these cookies and why each ingredient matters:
✅ Butter (Unsalted)
Adds richness and binds ingredients together. You can use plant-based butter for a dairy-free version.
✅ Granulated Sugar
Gives sweetness and helps the cookies firm up as they cool. Coconut sugar is a potential substitute.
✅ Milk (Dairy or Plant-Based)
Used to dissolve the sugar and blend everything smoothly. Almond, oat, or soy milk work perfectly.
✅ Lemon Zest & Fresh Lemon Juice
The stars of the show! Zest offers pure lemon oil, while juice adds brightness and balance.
✅ Vanilla Extract
Rounding out the flavors with a warm undertone.
✅ Quick-Cooking Oats
Provide texture and structure. They absorb liquid quickly and soften beautifully.
✅ Shredded Coconut (Optional)
Adds a subtle tropical flavor and chewy contrast. Use sweetened or unsweetened depending on your preference.
✅ Salt
A pinch enhances all other flavors and balances the sweetness.
3. Tools You’ll Need
You don’t need fancy equipment—just these basics:
- Medium saucepan
- Wooden spoon or heat-proof spatula
- Measuring cups and spoons
- Baking sheet
- Parchment or wax paper
- Zester or microplane
Optional but helpful:
- Cookie scoop (for uniform portions)
- Mixing bowls (if prepping multiple batches)
4. Step-by-Step Instructions
Step 1: Prep Your Work Area
Line a baking sheet with parchment or wax paper. This makes it easy to remove the cookies once they’ve set.
Step 2: Cook the Lemon Mixture
In a medium saucepan, combine:
- ½ cup unsalted butter
- 1½ cups granulated sugar
- ⅓ cup milk
- Zest of 1 lemon
- 3 tablespoons fresh lemon juice
Stir over medium heat until butter is fully melted and the mixture starts to boil. Let it boil for exactly 1 minute, stirring constantly. This step helps the sugar dissolve and ensures proper cookie setting.
Step 3: Add Flavor & Texture
Remove the pan from heat and stir in:
- 1 teaspoon vanilla extract
- 3 cups quick oats
- ¾ cup shredded coconut (optional)
- A pinch of salt
Stir until everything is well coated and evenly combined.
Step 4: Shape the Cookies
Using a spoon or cookie scoop, drop heaping tablespoons onto the lined baking sheet. Gently shape them into rounds if needed—they won’t spread out.
Step 5: Let Them Set
Allow cookies to cool at room temperature for 30–40 minutes. For faster results, place the tray in the fridge for 10–15 minutes.
5. Storage & Shelf Life
🍪 Room Temperature:
Store in an airtight container for up to 3 days.
❄️ Refrigerator:
Keeps well for up to 7 days. Great for hot climates.
🧊 Freezer:
Freeze in a single layer, then transfer to a freezer-safe bag or container. Lasts for up to 3 months.
To thaw: Simply leave at room temp for 10–15 minutes.
6. Flavor Variations & Add-ins
Want to get creative? Try these ideas:
- White Chocolate Chips – Add after mixing for a creamy bite.
- Chopped Nuts – Almonds, walnuts, or pistachios work beautifully.
- Blueberry Lemon Twist – Add ¼ cup dried blueberries.
- Lavender Lemon – A pinch of dried culinary lavender for a floral note.
- Ginger-Lemon – ½ teaspoon ground ginger for a spicy zing.
7. How to Make It Vegan or Dairy-Free
It’s easy!
- Replace butter with plant-based butter or refined coconut oil.
- Use almond, oat, or soy milk.
- Make sure your sugar is vegan (some white sugars are processed with bone char).
8. Common Mistakes to Avoid
❌ Not Boiling Long Enough
If the mixture doesn’t boil for a full minute, the sugar won’t dissolve properly, and the cookies may not set.
❌ Using Old-Fashioned Oats
They don’t absorb the liquid as quickly. If you only have them, pulse them in a blender a few times to mimic quick oats.
❌ Overmixing After Boiling
Mix in oats after removing from heat. Overcooking oats can lead to dry, crumbly cookies.
9. Serving Suggestions
- Serve with iced tea or lemonade for a sunny afternoon snack.
- Pack in school lunches for a naturally flavored treat.
- Top with lemon glaze drizzle for an extra citrus kick.
- Add to a spring dessert board alongside fruit, bars, and macarons.
10. Nutrition Information (Per Cookie, Approx.)
- Calories: 130
- Fat: 6g
- Carbohydrates: 18g
- Sugar: 11g
- Fiber: 2g
- Protein: 2g
Values will vary depending on exact size and ingredients used.
11. Recipe Card (Printable Format)
Lemon Oatmeal No-Bake Cookies
Prep Time: 10 minutes | Cook Time: 5 minutes | Cooling Time: 30 minutes | Yield: 20–24 cookies
Ingredients:
- ½ cup unsalted butter
- 1½ cups granulated sugar
- ⅓ cup milk
- Zest of 1 lemon
- 3 tbsp fresh lemon juice
- 1 tsp vanilla extract
- 3 cups quick oats
- ¾ cup shredded coconut (optional)
- Pinch of salt
Instructions:
- Line baking sheet with parchment paper.
- In a saucepan, combine butter, sugar, milk, lemon zest & juice. Bring to boil over medium heat.
- Boil for 1 full minute, stirring constantly.
- Remove from heat. Stir in vanilla, oats, coconut, and salt.
- Drop spoonfuls onto baking sheet.
- Let cool for 30–40 minutes, or chill to set faster.
- Store as needed and enjoy!
12. Frequently Asked Questions
Can I use lime instead of lemon?
Yes! Lime works just as well and offers a slightly different citrus profile.
Are these gluten-free?
If you use certified gluten-free oats, then yes, they are gluten-free.
Can I reduce the sugar?
You can reduce it slightly, but the structure of the cookie may change. Try cutting ¼ cup and test consistency.
Do they taste better chilled or at room temp?
They’re delicious either way, but chilling gives them a firmer bite.
13. Final Thoughts & Expert Tips
These Lemon Oatmeal No-Bake Cookies are the perfect answer to your sweet cravings without the oven stress. They’re refreshing, satisfying, and endlessly adaptable.
⭐ Pro Tips:
- Always zest the lemon before juicing.
- Store in layers with wax paper to prevent sticking.
- Use a microplane for fine lemon zest (more flavor, less bitterness).