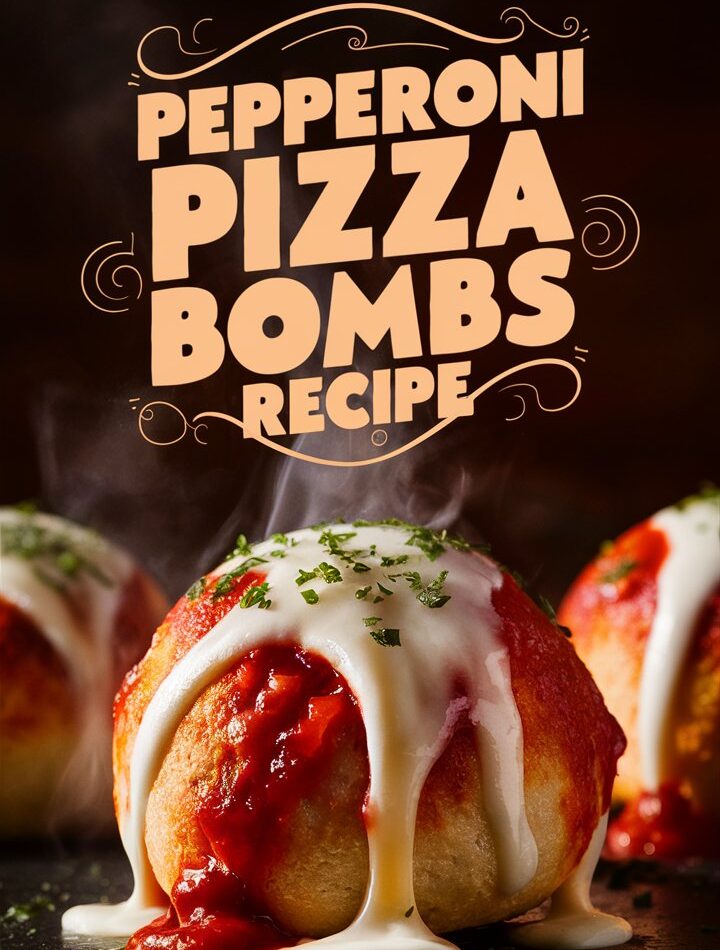
If there’s one universal truth in the world of comfort food, it’s this: pizza reigns supreme. But what if we took everything we love about pizza—gooey cheese, savory pepperoni, tangy sauce, and soft, warm dough—and wrapped it into a bite-sized, poppable snack? Introducing Pepperoni Pizza Bombs: your new favorite go-to for game nights, after-school snacks, party appetizers, or lazy weekend treats.
In this article, you’ll get a step-by-step guide, helpful pro tips, customization ideas, FAQs, and serving suggestions that will make this recipe your signature snack for every occasion. Let’s dive into the cheesy goodness!
⭐ Why You’ll Love These Pepperoni Pizza Bombs
Pepperoni Pizza Bombs are:
- Quick & easy – Made with refrigerated biscuit dough.
- Perfectly cheesy – Oozing with melty mozzarella in every bite.
- Kid-friendly & party-approved – A crowd favorite with kids and adults alike.
- Endlessly customizable – Swap fillings, add spice, or make them vegetarian.
- Make-ahead & freezer-friendly – Ideal for busy schedules.
Whether you’re craving pizza but don’t want to order out or need something impressive yet low-effort to serve guests, this is a foolproof recipe you’ll want to make again and again.
🛒 Ingredients You’ll Need
For the Pizza Bombs:
- 1 can (8 oz) refrigerated biscuit dough
- ¾ cup shredded mozzarella cheese
- ½ cup mini pepperoni slices
For the Buttery Topping:
- 2 tbsp melted butter
- 1 tsp garlic powder
- 1 tsp Italian seasoning
Optional (Highly Recommended!):
- Marinara or pizza sauce (for dipping or filling)
- Crushed red pepper flakes (for heat)
- Chopped black olives, mushrooms, or green peppers
🔁 Ingredient Swaps
- Use pizza dough or crescent roll dough instead of biscuits for a different texture.
- Vegan? Use plant-based cheese and vegan pepperoni.
- Low-carb? Try fathead dough or keto alternatives.
🔪 Kitchen Tools You’ll Need
- Baking sheet
- Parchment paper or non-stick spray
- Rolling pin (optional)
- Small bowl (for butter mixture)
- Pastry brush
- Oven or air fryer
🔥 Step-by-Step Instructions
✅ Step 1: Preheat the Oven
Set your oven to 375°F (190°C). Allow it to fully preheat so your pizza bombs cook evenly and develop that gorgeous golden crust.
💡 Pro Tip: Use a parchment-lined baking sheet for easy cleanup and to prevent sticking.
✅ Step 2: Prepare the Buttery Garlic Topping
In a small bowl, combine:
- 2 tbsp melted butter
- 1 tsp garlic powder
- 1 tsp Italian seasoning
This aromatic mixture will be brushed on before baking, ensuring each bite is buttery, herby, and flavorful.
🧄 Want extra flavor? Add a pinch of Parmesan or a dash of red pepper flakes to this mixture.
✅ Step 3: Assemble the Pizza Bombs
- Separate the biscuit dough into individual pieces (usually 8 per can).
- Flatten each piece into a 4-inch circle using your hands or a rolling pin.
- Fill the center of each circle with:
- ~1 tbsp mozzarella cheese
- A few mini pepperoni slices
- Optional: ½ tsp marinara or your favorite toppings
🧀 Stuff Wisely: Overfilling may cause cheese leakage during baking, so keep it balanced.
✅ Step 4: Seal and Shape
- Carefully gather the edges of each dough circle and pinch tightly to seal.
- Gently roll into a smooth ball, ensuring no holes or gaps.
✋ Sticky dough? Lightly flour your hands before sealing to keep things neat.
✅ Step 5: Butter, Arrange, and Season
- Place the sealed balls seam-side down on your baking sheet.
- Generously brush each one with the buttery garlic topping.
- Optional: Sprinkle extra Italian seasoning, shredded Parmesan, or red pepper flakes on top.
✅ Step 6: Bake to Golden Perfection
Bake at 375°F (190°C) for 12–15 minutes, or until golden brown.
⏱️ Keep an eye on them after the 12-minute mark—depending on your oven or baking sheet, they may brown faster.
✅ Step 7: Serve Hot & Gooey
Let them cool for 2–3 minutes, then serve warm with a side of marinara sauce, garlic butter, or ranch dressing.
🤤 That cheese pull? Epic. That first bite? Pure bliss.
🍕 Creative Variations
Let your imagination run wild! These Pizza Bombs are endlessly customizable:
| Variation Name | Swap/Add |
|---|---|
| Supreme Bombs | Add chopped peppers, onions, and mushrooms |
| BBQ Chicken Bombs | Use shredded BBQ chicken instead of pepperoni |
| Hawaiian Bombs | Add diced ham + pineapple |
| Veggie Delight | Spinach, olives, bell peppers |
| Spicy Lovers | Jalapeños + pepper jack cheese |
🔁 Make it Your Own: The possibilities are endless—mix and match flavors based on your mood or what’s in your fridge!
🥗 What to Serve with Pizza Bombs
Turn these snacks into a satisfying meal with the perfect sides:
- Crisp garden salad
- Garlic Parmesan fries
- Tomato basil soup
- Italian antipasto platter
- Fresh fruit skewers (for kids!)
🧺 Hosting a party? Serve pizza bombs in a basket with dipping sauces like buffalo, ranch, spicy marinara, and honey mustard.
🧊 Storage & Reheating Instructions
👉 To Store:
- Cool completely and store in an airtight container in the fridge for up to 4 days.
👉 To Freeze:
- Freeze after baking: Place in a freezer-safe container and keep for up to 2 months.
- Reheat in oven or air fryer for best texture.
👉 Reheating Options:
| Method | Temp | Time | Notes |
|---|---|---|---|
| Oven | 350°F | 10–12 min | Crispy outside, melty inside |
| Air Fryer | 350°F | 6–8 min | Best for texture |
| Microwave | N/A | 30–45 sec | Soft, but quick! |
🧠 Frequently Asked Questions (FAQ)
1. Can I make these ahead of time?
Yes! You can assemble the bombs and refrigerate (unbaked) up to 24 hours in advance. Just brush with butter right before baking.
2. Can I use homemade dough instead of biscuit dough?
Absolutely. Use pizza dough, crescent dough, or even sourdough if you prefer. Adjust bake time as needed.
3. How do I prevent the cheese from leaking?
Proper sealing is key. Pinch tightly and roll into a smooth ball with no cracks. Refrigerate before baking to help them hold their shape.
4. Can I bake these in an air fryer?
Yes! Air fry at 350°F (175°C) for 7–9 minutes, checking for doneness. Brush butter after air frying to keep them crispy.
5. Are these freezer-friendly?
Definitely. Bake first, cool completely, and freeze. Reheat from frozen at 350°F for 10–12 minutes.
6. Can I make them vegetarian?
Yes! Use vegetarian pepperoni or swap in veggies like mushrooms, spinach, and bell peppers.
7. Can kids help make this?
This is a fun, kid-friendly recipe! Kids can flatten the dough, add fillings, and brush with butter—just assist with sealing and baking.
📋 Nutrition Facts (Estimated per Pizza Bomb)
| Nutrient | Amount |
|---|---|
| Calories | 140–170 |
| Protein | 5g |
| Carbohydrates | 13g |
| Fat | 9g |
| Saturated Fat | 3g |
| Sodium | 340mg |
| Sugar | 1g |
⚠️ Values will vary based on dough brand, fillings, and serving size.
🎉 Hosting Tips & Meal Ideas
- Party Platter: Serve in mini cupcake liners with labeled dips.
- Lunchbox Favorite: Wrap in foil and add to lunch with fruit and a cookie.
- Movie Night Snack Board: Pair with popcorn, sliders, and drinks.
🏈 Game Day Hack: Make double batches and freeze one. You’ll thank yourself during halftime.
📌 Final Thoughts: One Bite, Infinite Cravings
These Pepperoni Pizza Bombs are proof that delicious doesn’t have to be complicated. From the crispy outer crust to the molten cheesy center, each bite delivers classic pizza flavor in a fun, finger-food form.
Whether you’re a busy parent, an aspiring home chef, or someone who simply lives for cheese, this recipe is one you’ll return to again and again.
So roll up your sleeves, preheat that oven, and get ready to make something truly addictive.