1. Introduction: Why Strawberry Kiss Cookies Deserve a Place in Your Kitchen
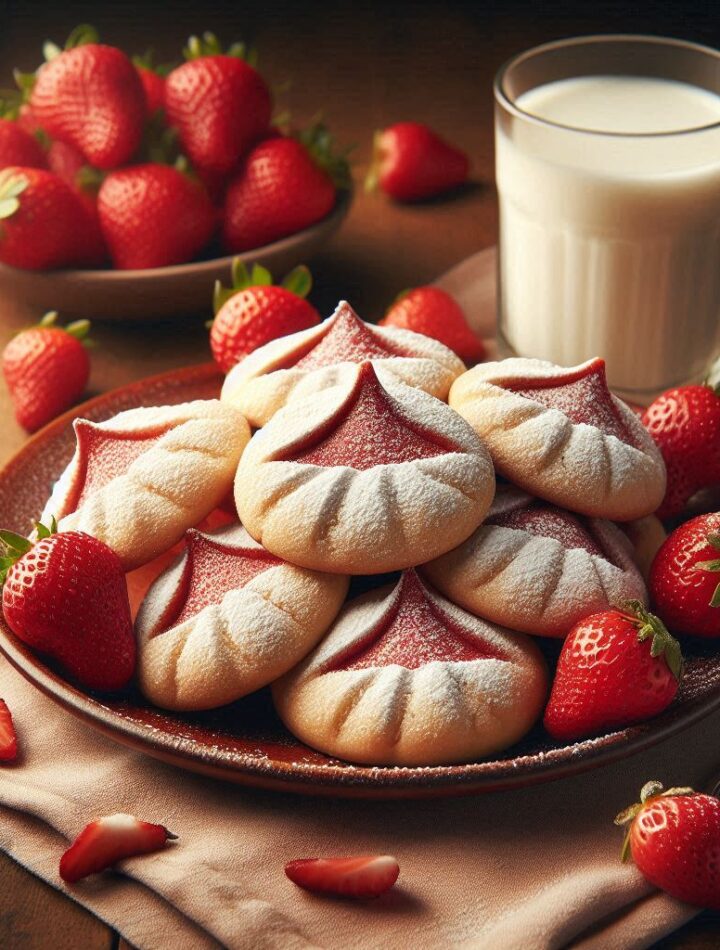
Few desserts strike a perfect balance between whimsical beauty and melt-in-your-mouth comfort the way Strawberry Kiss Cookies do. Soft, vibrant, and topped with a rich chocolate kiss, these cookies are not only a treat for the tastebuds but a visual delight on any dessert table. Whether you’re baking for a baby shower, Valentine’s Day, a birthday, or simply indulging a craving, this recipe delivers joy in every bite.
But this isn’t just any strawberry cookie recipe. This is a thoughtfully developed guide that will give you expert-level results, even if you’re new to baking. From detailed instructions to clever tips, this article ensures that your cookies turn out just as delicious and picture-perfect as you’ve imagined.
Let’s uncover why these little pink treasures are quickly becoming a household favorite.
2. What Makes These Cookies So Special?
Strawberry Kiss Cookies are inspired by the classic peanut butter blossoms but with a fruit-forward twist that takes things to a whole new level. Here’s why they stand out:
- Bold Strawberry Flavor: We skip fresh fruit—which can introduce too much moisture—and use strawberry-flavored gelatin to deliver a concentrated fruity taste and vibrant color.
- Irresistible Texture: These cookies strike a balance between soft and chewy, with a slight crisp on the outside thanks to a sugar coating.
- Chocolate Kiss Center: Each cookie is crowned with a melty chocolate kiss—adding depth, richness, and a nostalgic touch.
- Colorful and Cute: Their pink hue makes them perfect for themed parties or holidays, especially when paired with heart-shaped sprinkles or colored sugar.
No mixers with complicated settings, no rare ingredients—just a dependable, delightful treat made with everyday pantry items.
3. Ingredients: Choosing the Best for Flavor and Texture
Success starts with quality ingredients. Here’s what you’ll need, along with tips on getting the most from each one.
For the Cookie Dough:
| Ingredient | Purpose | Expert Tip |
|---|---|---|
| 1 cup unsalted butter, softened | Base fat for tenderness | Use high-quality European butter for richer flavor. |
| 1 cup granulated sugar | Sweetness + crisp edges | Do not substitute brown sugar—it changes texture. |
| 1 large egg, room temperature | Structure and moisture | Room temp eggs mix more evenly. |
| 1 tsp vanilla extract | Flavor enhancement | Pure extract over imitation always. |
| ½ tsp almond extract (optional) | Delicate nuttiness | Skip if allergic or not a fan. |
| 2 cups all-purpose flour | Bulk + chew | Sift for softer texture. |
| ½ tsp baking powder | Leavening | Double-check expiration date. |
| ½ tsp salt | Flavor balance | Essential even in sweet baking. |
| 3 tbsp strawberry-flavored gelatin (Jell-O) | Flavor + color | Avoid sugar-free versions. |
For Rolling & Topping:
- ¼ cup granulated sugar – for coating the dough before baking.
- 24 Hershey’s Kisses (or other chocolate kisses) – unwrapped and ready.
4. Step-by-Step Recipe Instructions
Step 1: Preheat and Prep
- Preheat oven to 350°F (175°C).
- Line baking sheets with parchment paper or a silicone baking mat.
Step 2: Cream Butter and Sugar
- In a large bowl, beat the softened butter and sugar for about 2–3 minutes until fluffy.
- This aerates the dough and ensures a light, melt-in-your-mouth texture.
Step 3: Add Wet Ingredients
- Beat in the egg, vanilla, and optional almond extract until fully incorporated.
Step 4: Mix Dry Ingredients
- In a separate bowl, whisk together flour, baking powder, salt, and strawberry gelatin powder.
- Slowly add to the wet mixture, mixing on low speed to form a soft dough.
Step 5: Shape and Roll
- Roll 1-inch balls of dough between your palms.
- Roll each ball in granulated sugar and place on prepared baking sheets, 2 inches apart.
Step 6: Bake
- Bake for 8–10 minutes, or until the edges are set and centers are puffed.
- Do not overbake—they should remain soft in the center.
Step 7: Add Chocolate Kiss
- Let cookies cool 1 minute, then press a chocolate kiss gently into the center of each cookie.
- Let cool on the pan, then transfer to a rack. Refrigerate for 15 minutes to set the chocolate faster.
5. Tips for Perfect Results Every Time
- Measure Flour Properly – Too much flour = dry cookies. Spoon it into the cup and level with a knife.
- Use Room Temp Ingredients – This ensures even mixing and consistent texture.
- Chill Dough if Needed – If it’s too sticky, chill for 20 minutes before rolling.
- Unwrap Kisses Ahead of Time – So you’re ready when cookies come out of the oven.
- Do Not Overbake – Take them out when they’re still soft in the middle.
6. Flavor Variations and Creative Twists
Get creative with these fun and tasty variations:
Swap the Gelatin Flavor
- Raspberry, cherry, or even orange gelatin for a new flavor + color combo.
Change the Kiss
- Use:
- White chocolate
- Cookies & crème
- Peppermint swirl
- Caramel-filled
Add Mix-ins
- White chocolate chips
- Chopped freeze-dried strawberries
- Mini sprinkles
Use Colored Sugar
- Roll in red, pink, or sparkly sugar for holidays or parties.
7. Presentation Ideas for Special Occasions
These cookies are ideal for gifting and decorating:
- Valentine’s Day: Pink sugar coating + heart sprinkles.
- Baby Showers: Match the cookie color to the theme.
- Birthday Parties: Pair with cupcakes for a dessert platter.
- Gift Boxes: Wrap in pink tissue inside a cookie tin.
Make them part of a cookie board with chocolate-dipped pretzels, macarons, and strawberries for a Pinterest-worthy dessert display.
8. Troubleshooting: Common Issues and Fixes
| Problem | Cause | Fix |
|---|---|---|
| Cookies spread too much | Dough too soft, warm butter | Chill dough 20 minutes |
| Dry or crumbly cookies | Too much flour | Spoon and level method |
| Chocolate kiss melts | Oven too hot, added too early | Let cookies cool 1–2 mins first |
| Cookie too pale | Underbaked | Let edges just start to turn golden |
9. How to Store and Freeze Strawberry Kiss Cookies
Storing:
- Store in an airtight container at room temperature for up to 5 days.
- Place wax paper between layers to protect chocolate kiss shape.
Freezing:
Freeze Dough:
- Roll into balls, freeze on tray, transfer to bag.
- Thaw slightly, then roll in sugar and bake.
Freeze Baked Cookies:
- Let cookies cool, place in a single layer in freezer container.
- Lasts up to 3 months.
- Thaw at room temperature for 30 minutes before serving.
10. FAQs: All Your Cookie Questions, Answered
Q1. Can I use fresh strawberries instead of gelatin?
Answer: No. Fresh strawberries release water that will make the cookies soggy. Gelatin gives flavor, color, and structure.
Q2. Can I make the dough ahead of time?
Answer: Absolutely. Wrap and refrigerate for up to 48 hours, or freeze for 3 months.
Q3. How do I keep the chocolate kiss from melting?
Answer: Press it into the cookie after baking and refrigerate the cookies to set faster.
Q4. Can I double the recipe?
Answer: Yes! This recipe doubles well—just use a stand mixer to handle the larger volume.
Q5. Can I make this gluten-free?
Answer: Use a 1:1 gluten-free flour blend with xanthan gum added. Results may vary slightly in texture.
11. Final Thoughts: A Cookie That’s Pretty, Pink, and Perfect
Strawberry Kiss Cookies are more than just a sweet treat—they’re an experience. With their soft, chewy texture, dazzling sugar coating, and rich chocolate center, they check every box for the perfect cookie. They’re easy enough for beginners, impressive enough for gifting, and customizable for any occasion.
Whether you’re baking with kids, preparing for a celebration, or simply indulging in a little sweetness, this recipe brings warmth, color, and joy into your kitchen.
So grab your mixing bowl, unwrap those chocolate kisses, and let’s make something truly memorable.


